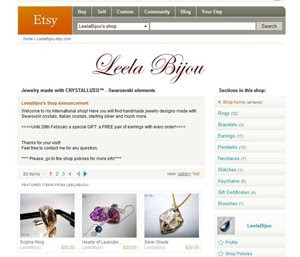
In my old blog and some other websites I have used this simple way to make a button to link any other site.
Here are these very easy steps to do it:
1) Choose the pic you want to be seen. For this example I chose a screenshot of my Etsy site.
2) With an editing program, resize the picture (maybe 150x150 pixels is ok, but it depends on your taste and how big you like it).
3) Upload it to a server like photobucket.com or picasa.com
4) Copy this format:

5) Where you see a red box, put the website you want to link and in the green box, put the link to your picture in photobucket, picasa, etc.

6) Now, type this code in the html template you want!. In blogger, add a new element and choose "html".
7) Now you have a button!

You can use this steps to create a button for everything!
I hope this will be useful and let me know if you have any question about this mini-tutorial.
Thanks for reading!
____________________________
I´m doing a Giveaway! More info HERE.


 Posted in:


7 comments:
ooh, thanks a lot for this tu-torial!
This is great. Thanks! I'm going to have to try this.
How nice of you to share this tip!
Oooooo I was just asking my computer savvy daughter if she would make me a button for my blog. Now maybe I can do it myself!!
Jo :)
Hey LB,
Thanx for the info. I downloaded picasa last nite and water marked my photos too. yipee.
PS gettin to the tag.....
Hey LB! Thanx for the info..I downloaded picasa last nite....watermarked my photos too.....
PS getting to your tag....
Crystal from KIZZ
pretty jews and great prices
Post a Comment